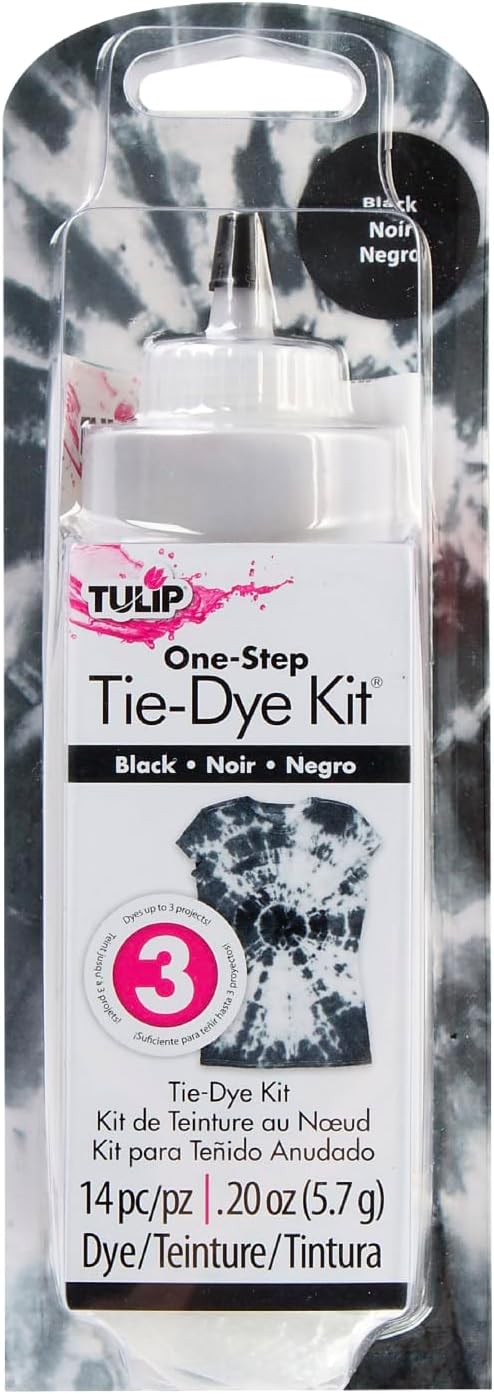
Tulip One Step Black Tie-Dye Kit - Set of 14
FREE Shipping
Tulip One Step Black Tie-Dye Kit - Set of 14
- Brand: Unbranded

Description
Another option is to wash the dyed fabric with the ties on them. You can rinse the tied fabric in cold water before removing the ties. Step 6. WASHING the tie-dyed fabric Repeat this process, pinching another small section of fabric to create another cone. Secure with a rubber band.
Lay the shirt flat on a table. Pinch a small section of fabric, and pull it up to create a small pointed cone shape.
Recommendations
Before you tie dye, you need to prewash the garments. Use a laundry detergent like Synthrapol to remove any oils, dirt, or anything else that might be on your garment. These things can resist the dye, leading to dull or spotty results. Sometimes, if the T-shirt is too dark, you will get a brownish-red color after bleaching. If you want the color to be even lighter, you can apply another round of bleach on those same areas to get a grayish-yellow color. Rinse Shirt This technique involves making stitches on the fabric. The fabric is gathered by stitching randomly or by stitching in specific patterns. Nui shibori is a variation of this tie dye. In theory, you can reverse tie-dye any color T-shirt that you want. The bleach will still work to remove any colors from your T-shirt, and you will still get the reverse tie-dye effects no matter what color T-shirt you use. Choose the right fabric. 100% natural cotton t-shirts or other apparel; scarf, tablecloths, curtain, tote bag, etc. Natural cotton fibers retain the most dye and yield vibrant colors. Other natural fibers like bamboo dye well too.
Instead of dying the whole fabric, you can dip each knot in a different color dye. You can tie the cloth with small objects inside like small buttons, beads, shells, small stones etc. Scrunching Wrap rubber bands around the cone of fabric, starting about an inch below the point of the cone. You can add as many or as few rubber bands as you want. Square Box Folds: Fold the shirt lengthwise in a series of accordion folds, each section about 3-4 inches wide. Press each fold well to get sharp creases. Then, fold the shirt widthwise in a series of accordion folds, each 3-4 wide. Sandwich the fabric between two squares of cardboard. Secure well with rubber bands.For the next couple of loads, you’ll want to wash your tie-dyed clothing separately from the rest of your clothes. Then you can wash them with the rest of your colors. Tie-Dye Patterns and Folding Techniques Another beautiful combination is a primary color and a secondary color, though be warned, not all of them work well together. There are many ways to fold or tie the material but the 6 basic methods are given below – these are used in different variations and permutations to create beautiful patterns on the fabric. 6 Basic Tie and dye tying techniques Tie-dye is a fun and safe project that kids and adults can enjoy together. But, before we get started, let’s go over a few safety tips. First, leaving the rubber bands or ties on, rinse the garment under cold running water. Then, continue rinsing in cool/lukewarm water while you remove the rubber bands or ties. Keep rinsing until the water runs clear. Then, run the garments through a complete warm/hot washing machine cycle with Synthrapol detergent.
When mixing dyes, you only need the three primary colors to create new colors. Two primary colors can yield any other color depending on the ratio of color to color. Wrap a rubber band around the small cone of fabric, about 1/2 to 1 inch down from the point of the cone. So, what are the best tie-dye color combinations? The best tie-dye combinations are made with two primary colors. Colors adjacent to each other on the color wheel blend nicely as well. If you are planning on using more than two or three colors, just make sure you don’t place them next to their complementary color. The traditional primary colors you probably learned in school are red, blue, and yellow. However, for the dye makers, it is cyan, magenta, and yellow. This is the subtractive system whereby the surface subtracts certain wavelengths to show particular colors. Since you will be working with bleach to reverse tie-dye your clothes, you will first need to learn how to work with bleach safely and successfully. Bleach is a strong and hazardous chemical, so you will need to take proper precautions for your safety. Knowing how to work with bleach will increase your chance of success as well! Make Sure Your T-Shirt Can Be BleachedLeave the bleach to soak for about 10 minutes. Bleach works almost immediately after touching a surface, so you shouldn’t leave the bleach on your T-shirt for more than 15 minutes, or it will destroy the fibers. After dyeing, you can keep the fabric in a plastic cover, covered with another plastic cover, to cure. You can keep it for 4 hours to 24 hours like this. Pull the pinched fabric up to a point, and smooth the rest of the shirt down to create a skinny cone shape.
- Fruugo ID: 258392218-563234582
- EAN: 764486781913
-
Sold by: Fruugo